Setting up Microsoft SQL Server Management Studio (SSMS) with FreeASPHosting.net
Welcome back to FreeASPHosting.net. This article will guide you through the steps of installing and connecting the Server Management Studio to your account, allowing you to administer your databases.
Welcome back to FreeASPHosting.net. This article will guide you through the steps of installing and connecting the Server Management Studio to your account, allowing you to administer your databases.
Installation
1
First, head to the Microsoft website in order to download the SQL Server Management Studio. You can look it up yourself, or simply click here

2
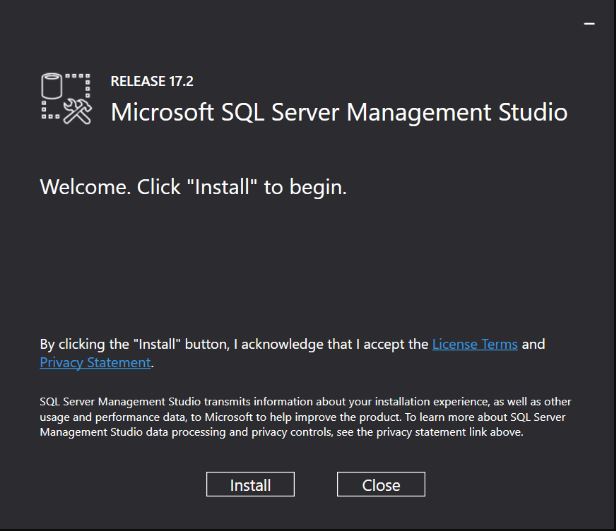
Once the download is complete, head to your downloads folder and double click on “SSMS-Setup-ENU.exe” in order to start the installation process.
3
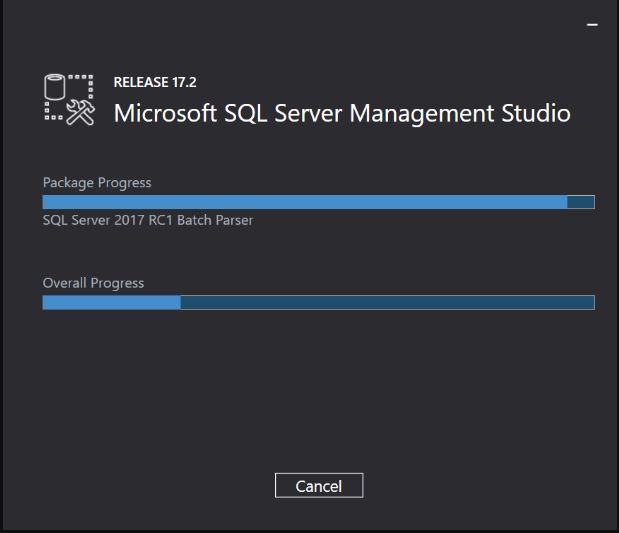
The installer will load all the necessary dependencies and packages required to run the SSMS, it might take a few minutes depending on your Internet and computer processing speed.
4
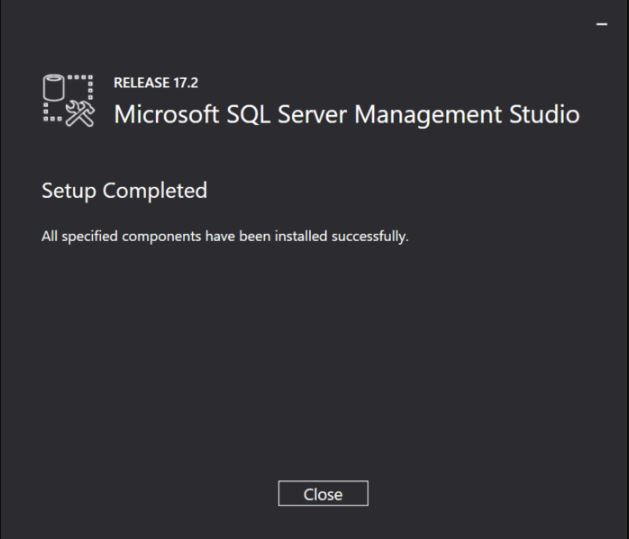
The installation is now complete as you can see in the following screen; you may press the “close” button.
5
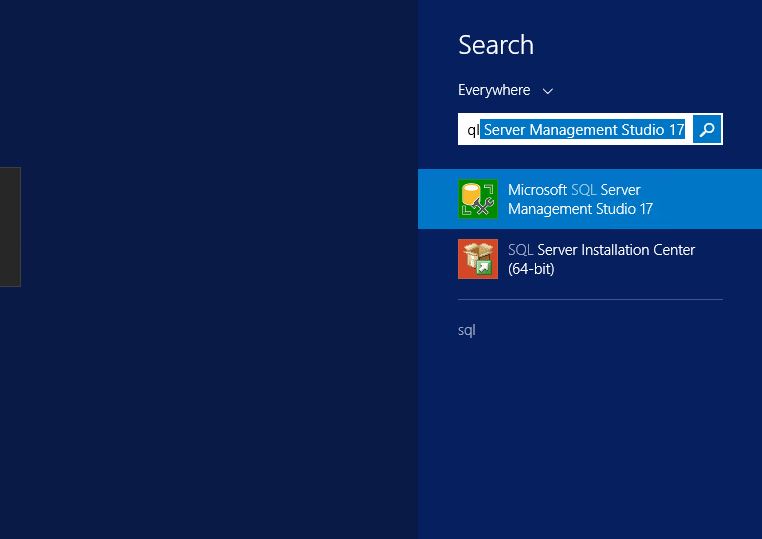
In order to run / open SSMS, you can simply search for “Microsoft SQL Server Management” on the search input and press enter to confirm. You may also find it by browsing the list of installed applications.
6
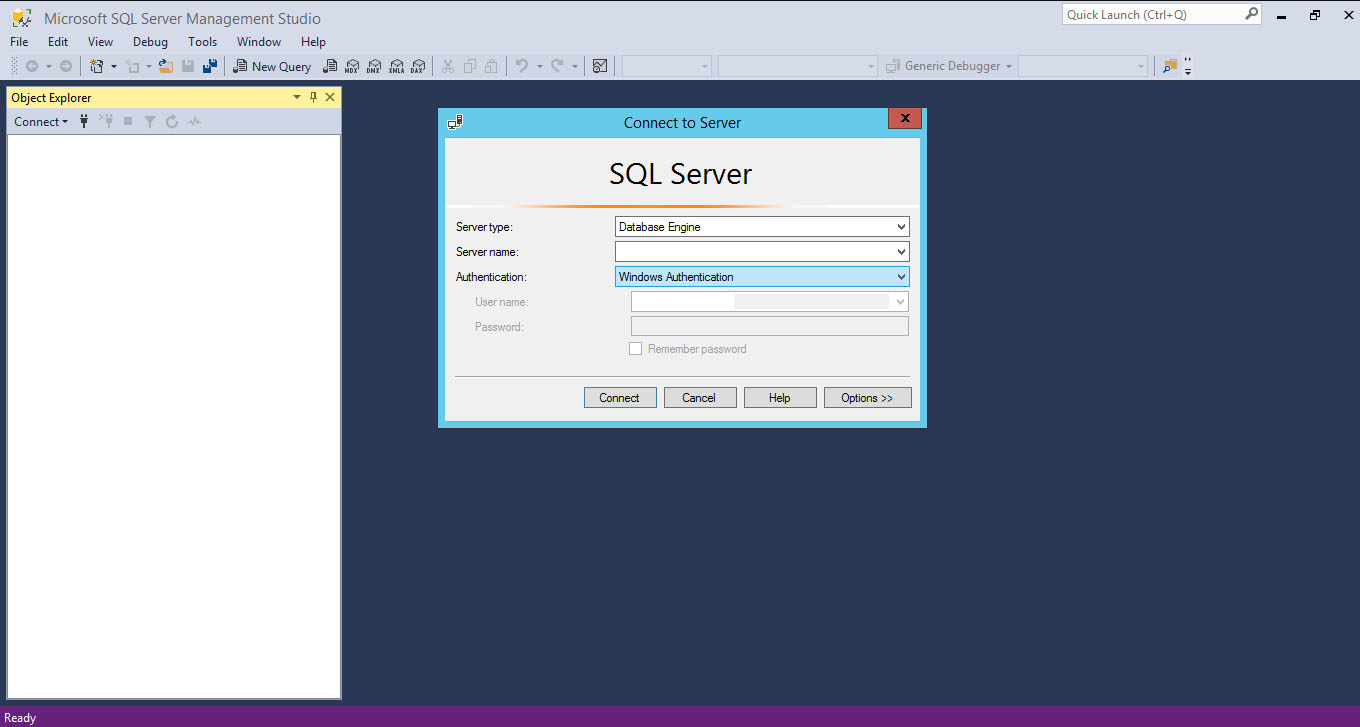
Once started, the Microsoft SQL Server Management Studio should look like this. A login box is displayed allowing you to connect to a database server.
7
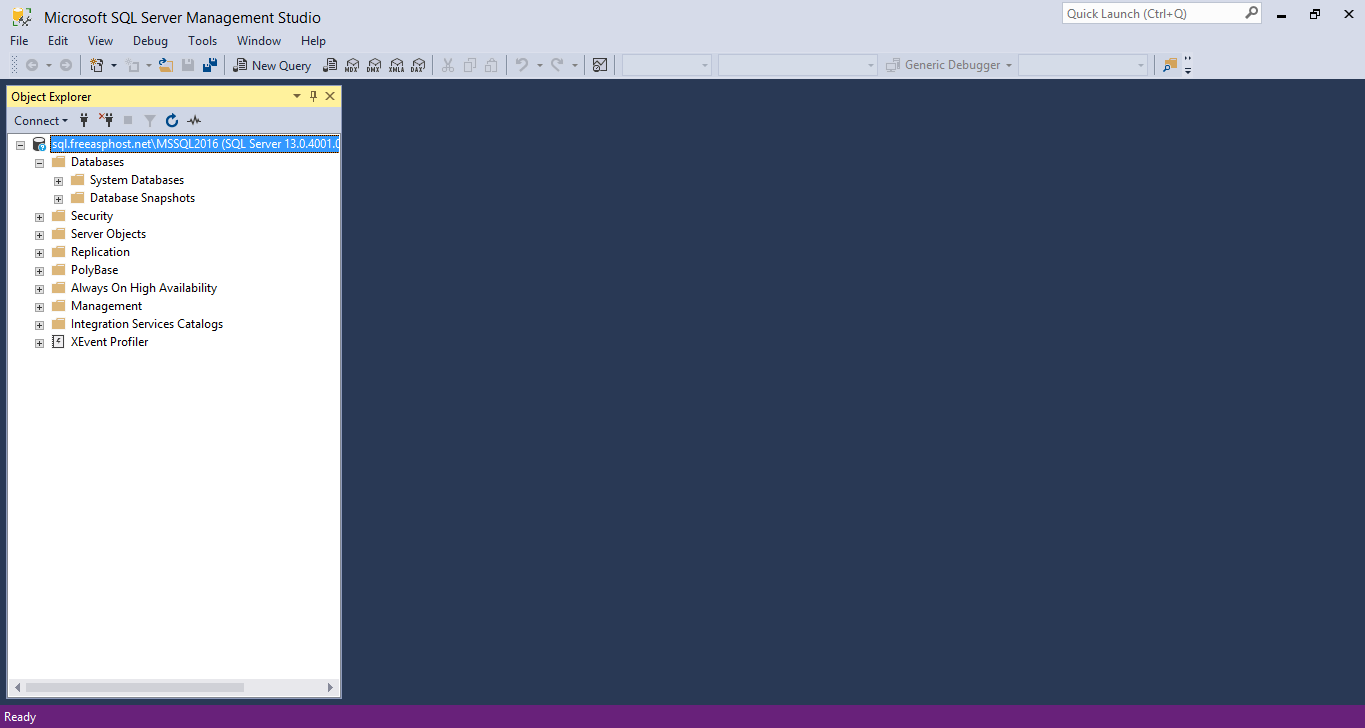
Once logged in, your side bar is filled with objects from the server you just logged into
In the next section, we will show you how you can log into your FreeASPHosting.net database, from Microsoft SQL Server Management Studio.